Koi Mural Along the Way:
How I’ve Done It
The Work Surface

It started with the family and I were sitting in the backyard of my brother’s house enjoying the warm 4th of July summer day. We’ve just finished eating when my brother fell into a kind of daydream.
“Wouldn’t be cool if you made a mural there?” he said as he gestured towards his back fence. I looked at the fence considering the possibilities
“Ok,” I said. I was more than down for the idea.
From there, I went on to asking my brother what he would want. Not really sure himself, wanting “something cool”, he gave me quite the free reign on the design. My initial thoughts were some kind of animal. He had an interest for koi fish which he had always wanted a koi pond, and so after the holiday I got to work.
Super Imposed
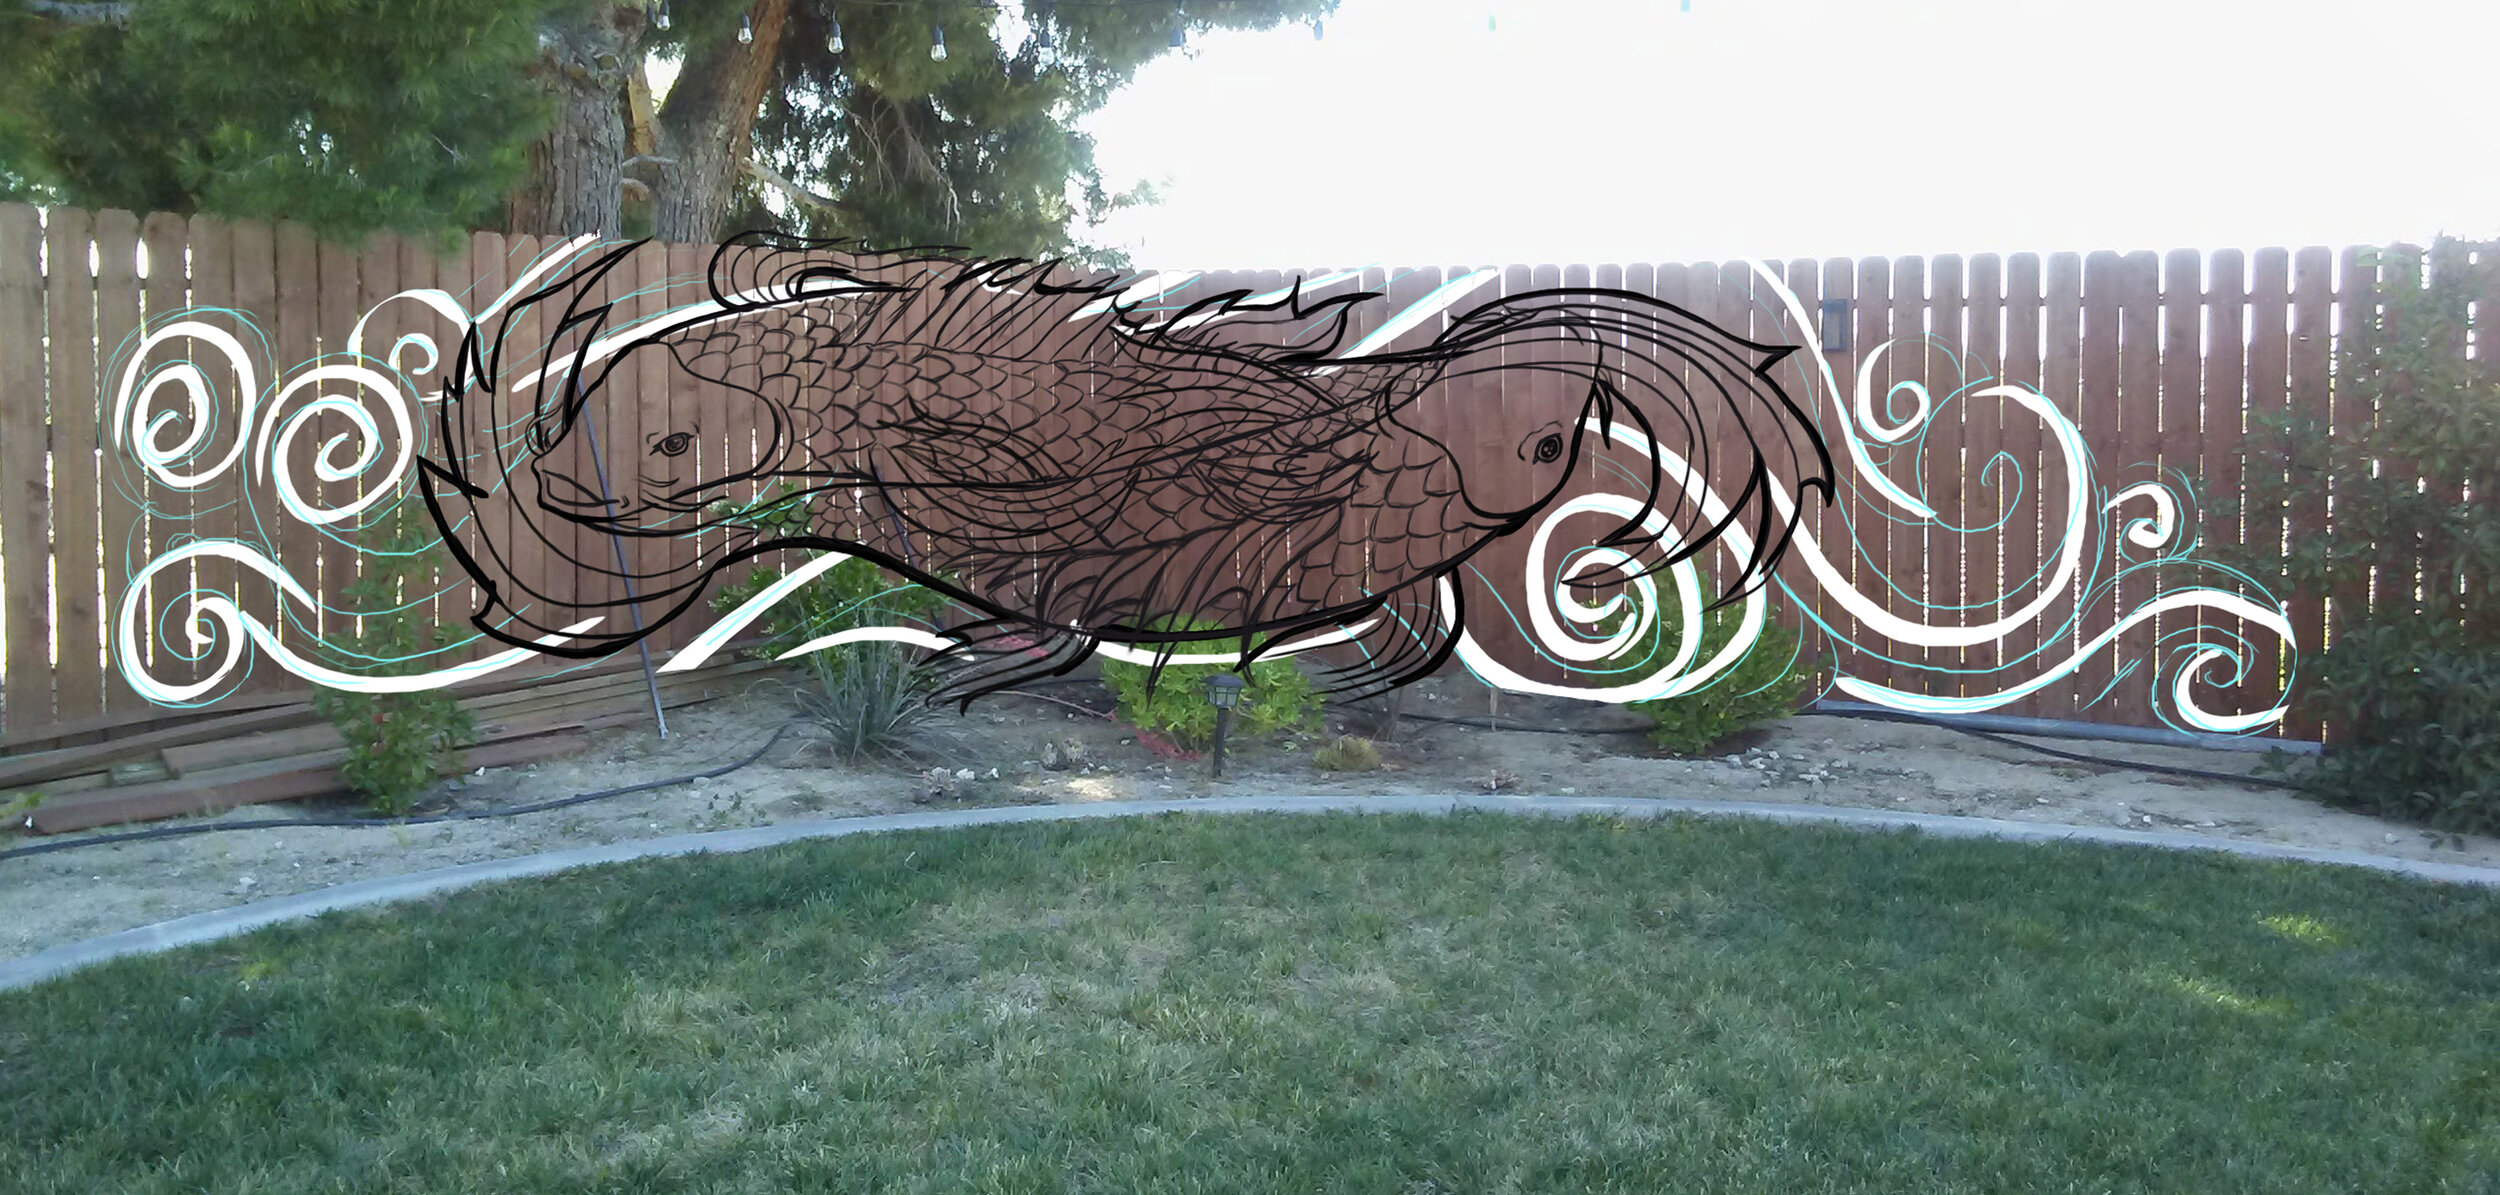
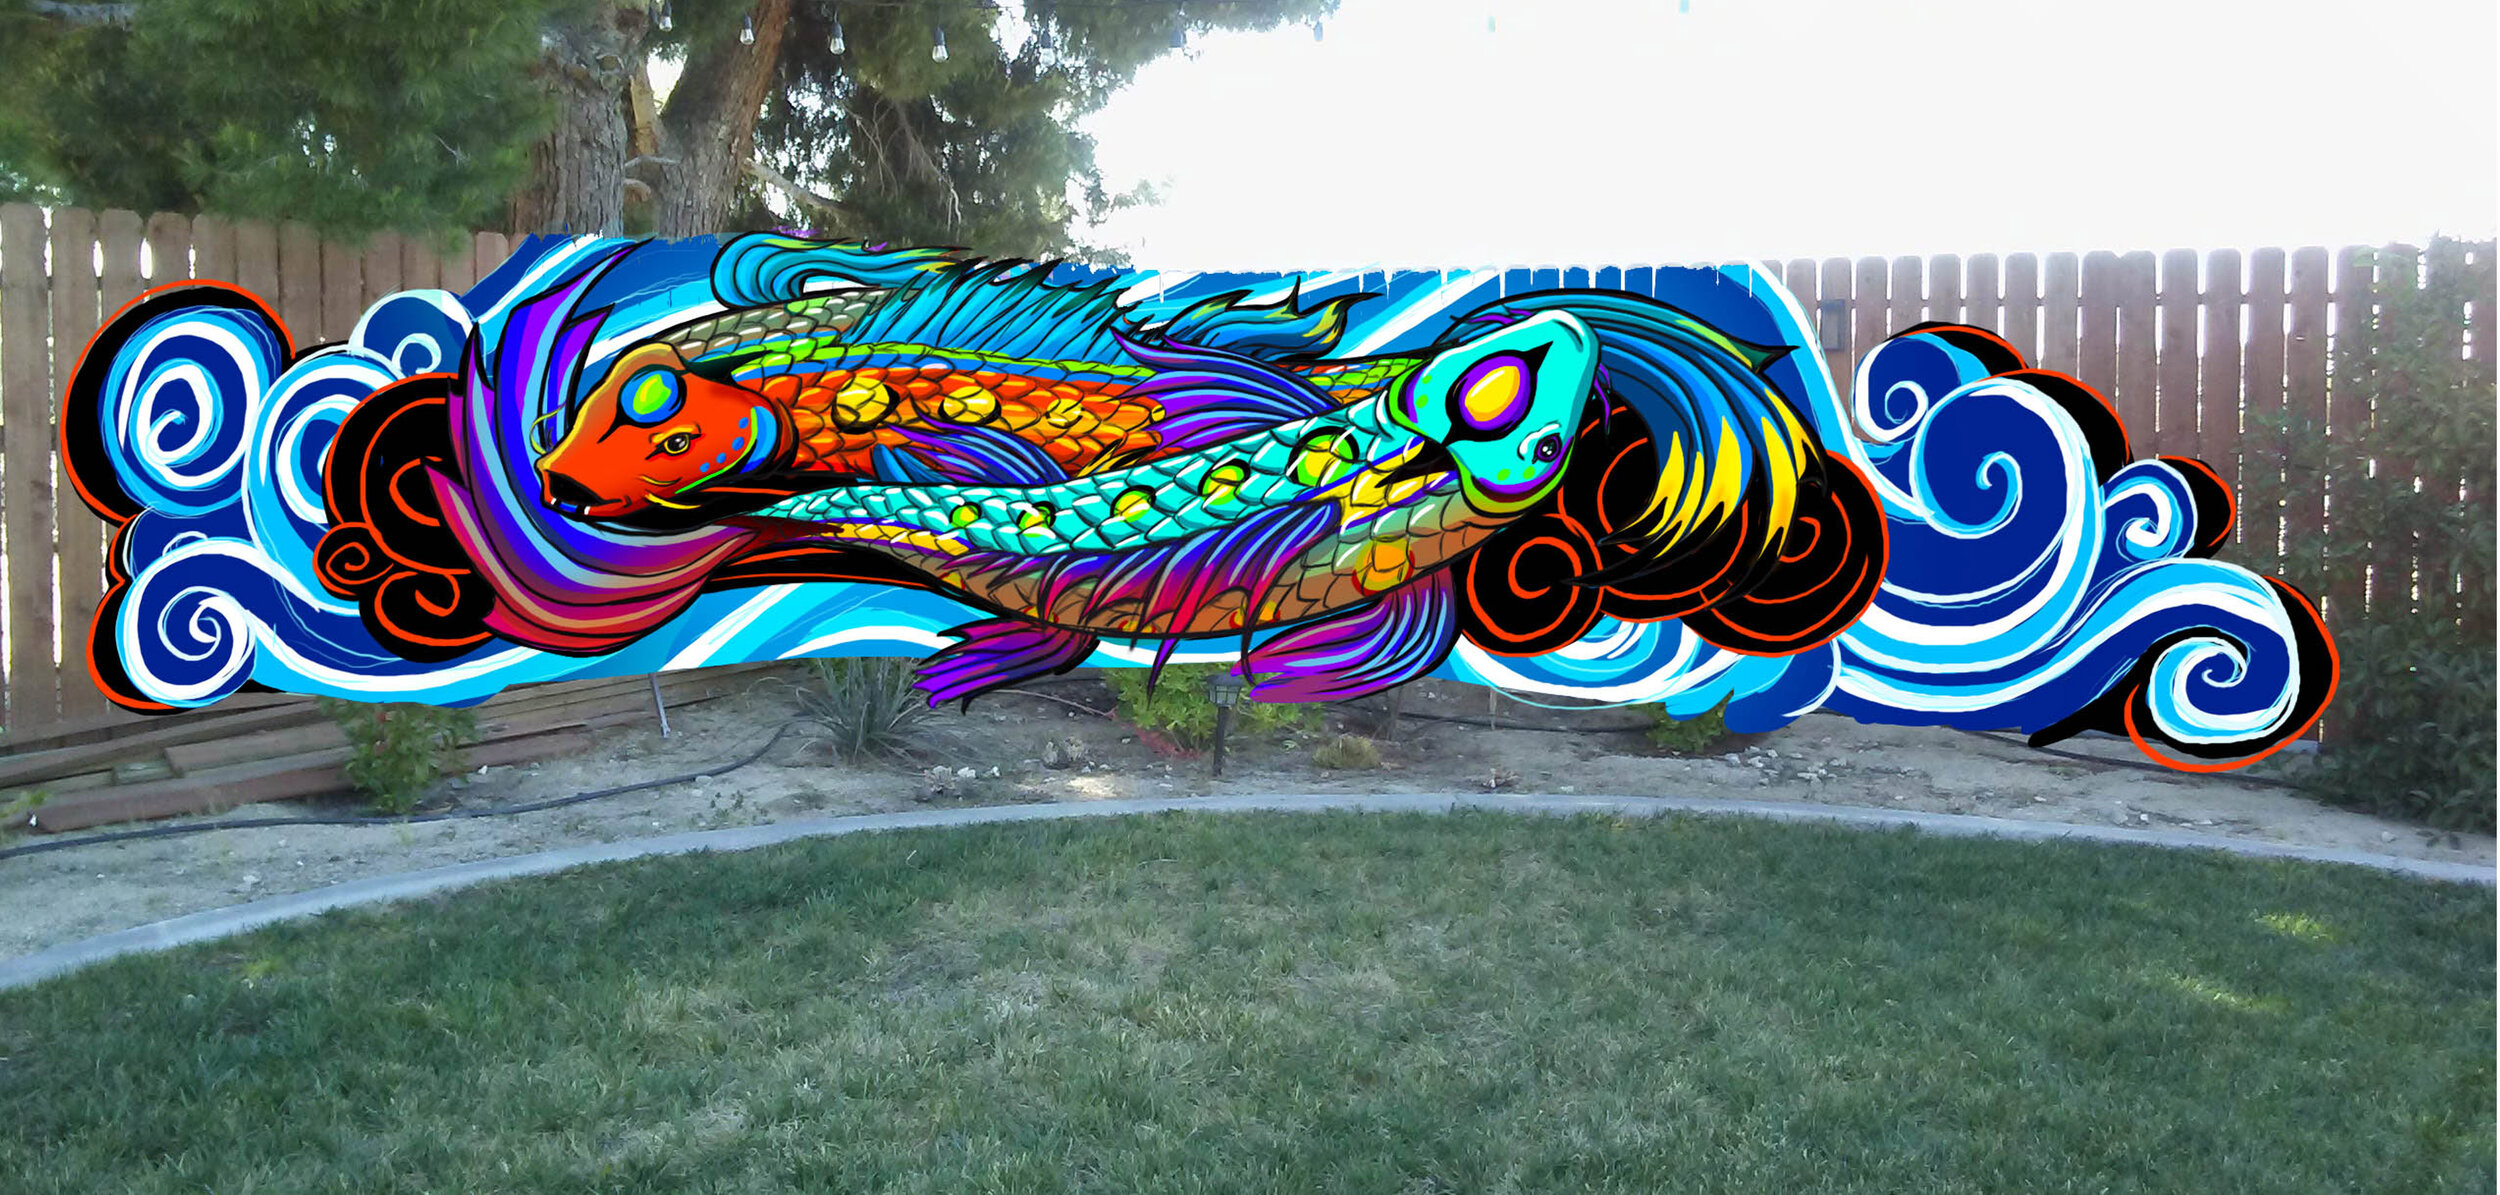
With that, I started sketching out the design digitally. I knew I wanted two fish, in a kind of ying-yang effect. The fish would be swimming in different directions among themselves. Koi fish represent many things; one that sticks with me the most is conquering and rising through struggle. In legend it is said that the koi fish would swim upstream and only to emerge as a dragon at the end of its journey. Behind the fish, I incorporated spinning waves to create flow and to bring in the concept of the koi swimming against powerful waves. After I was happy with the design, I’ve moved onto color (click the picture to see!). I love using vivid bright colors in my art paired along with bold lining to give my work a kind of graphic feel. I chose blue and orange as the main complimentary colors, heat and cool, ying and yang. In my final step in this phase, I digitally super imposed the design onto the fence to help my brother see how it would look.
Lastly, I gave the design to my brother for review. “That looks good!” he had said. Score, onto the next step.
Transferring the Design

I used a projector to transfer the design onto the fence. I marked the outline with chalk, but being aware of moisture from nearby sprinklers, I re-outlined the design with white paint. Corrections I would work on along the way. This step is done, time to paint!
A Step at a Time

It got pretty hot in the morning getting direct heat from the sun. Luckily around noon I’d get perfect shade from the beautiful pine tree next door.

The main body of the koi is finished. I say the hardest part of this step is making sure I don’t lose the structure of the fish’s scales.

Next, came the background waves. Although this step was quite simple, it took the longest to complete! I wanted to keep this part of the design flat for contrast against the fish and so there are no shading on the waves. My nephew, my camera guy, helped out some here :)

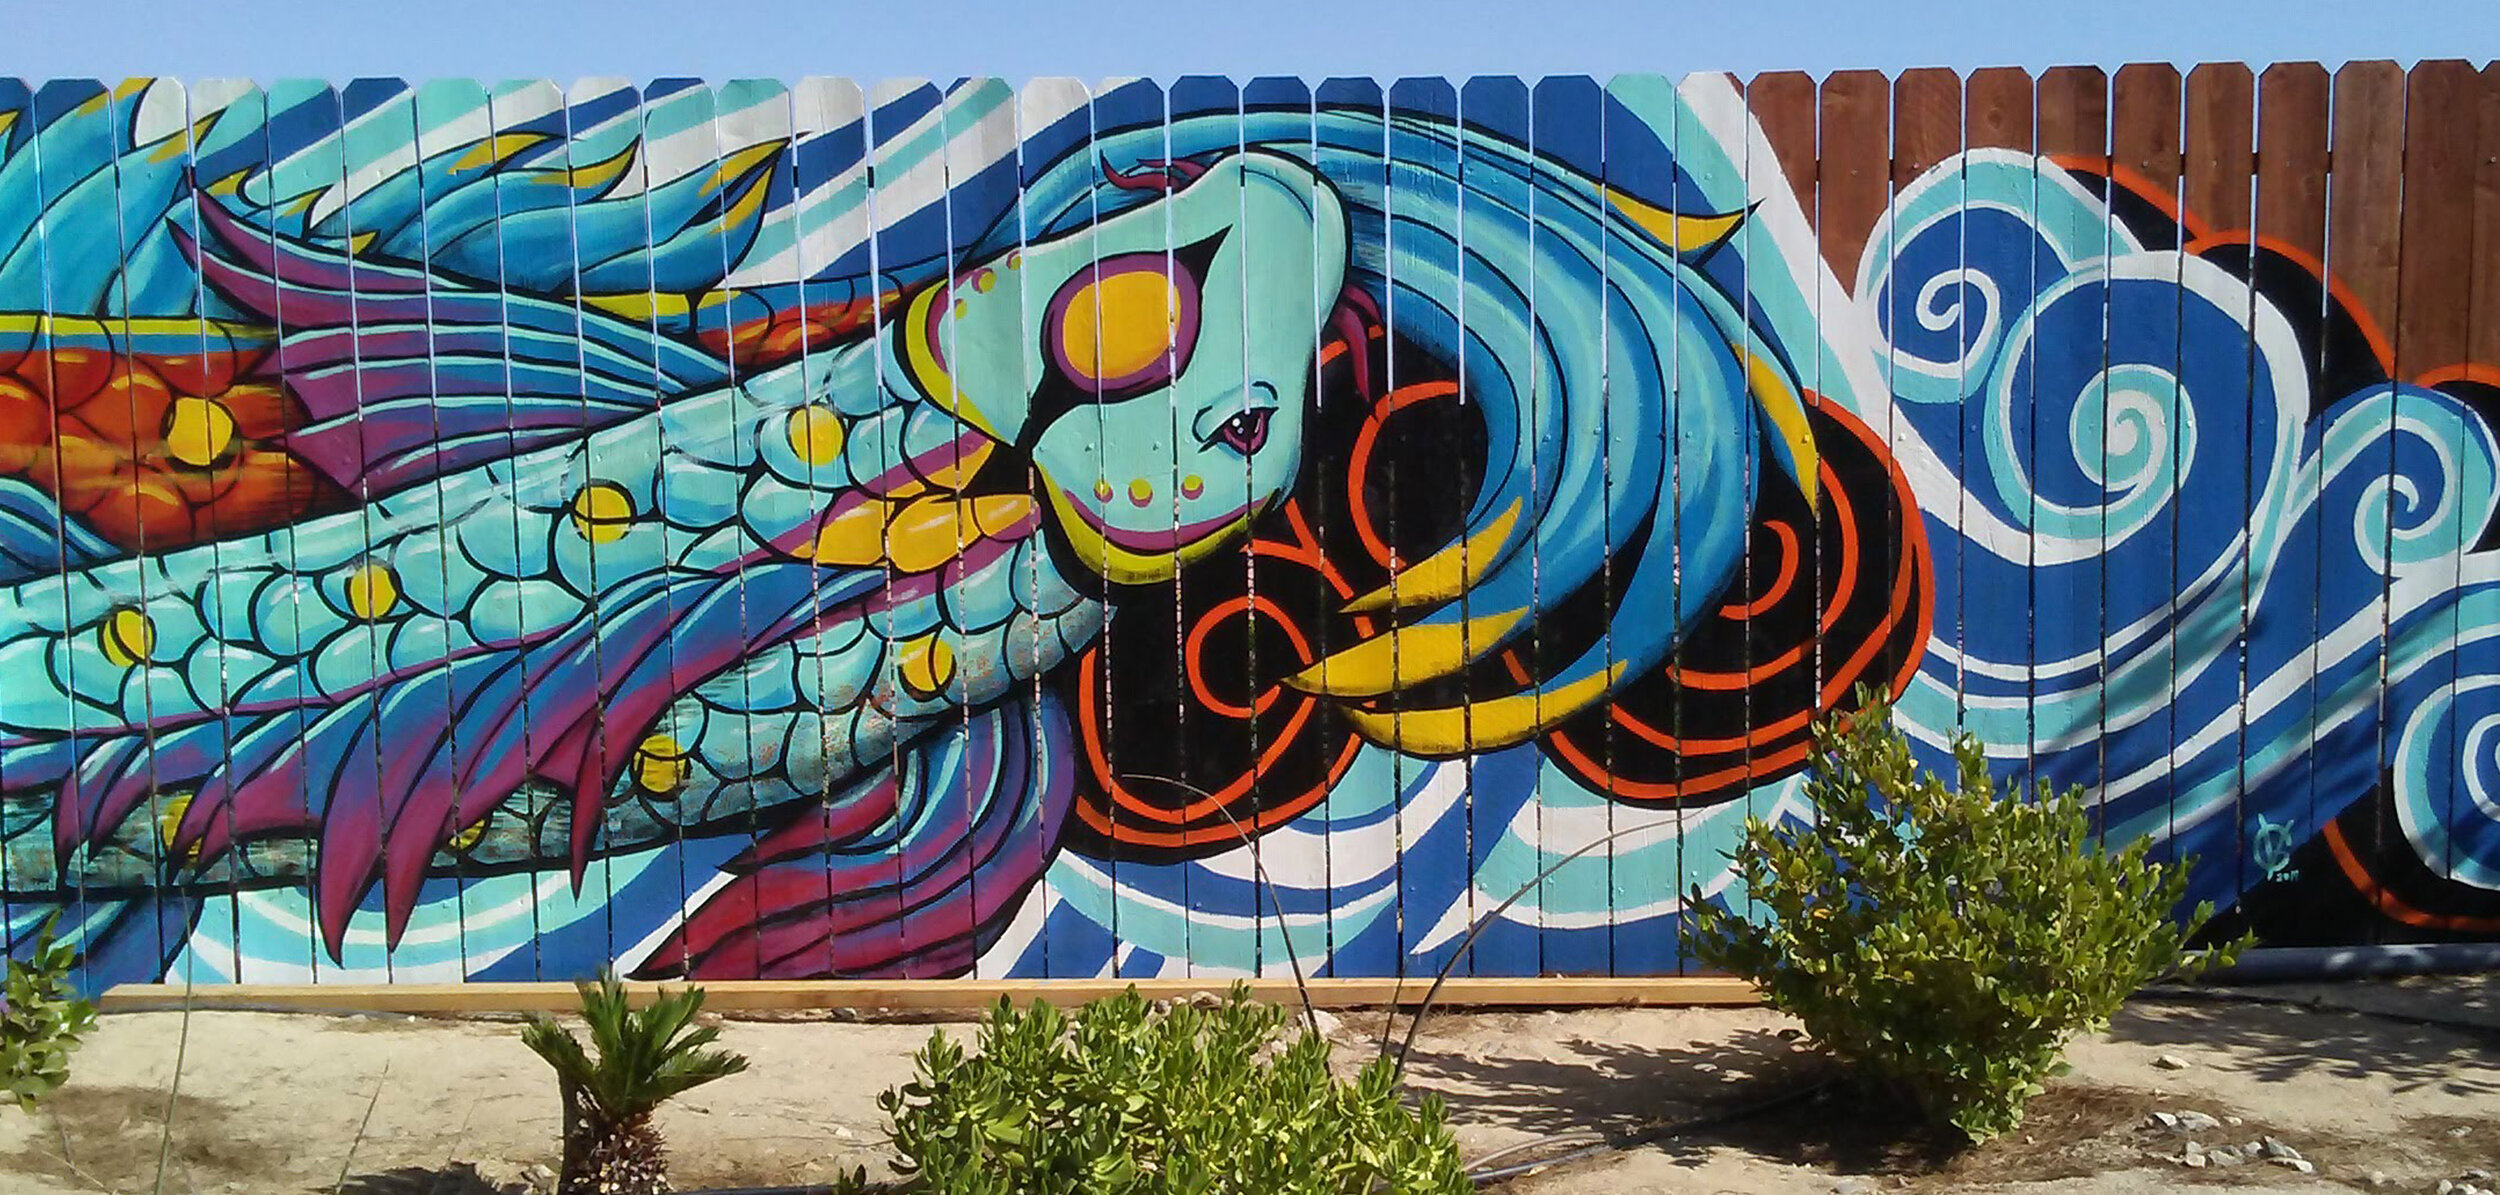
The mural is a nice size. Stretching across about 28 ft and with a height of 6 ft! So far this is my biggest painting yet.
Main Elements Finished

The waves are finally finished! I had to admit I was worried I’d run out of dark blue paint, but fortunately I was spared a trip to the local home improvement store. Back to the koi, I added in smaller details of color, shading, highlights, and also finished any imperfections in the painting. The edges of the koi themselves are still rather rough in this stage, but once the main elements were just as they should be, I moved on to the finishing touches…outlining
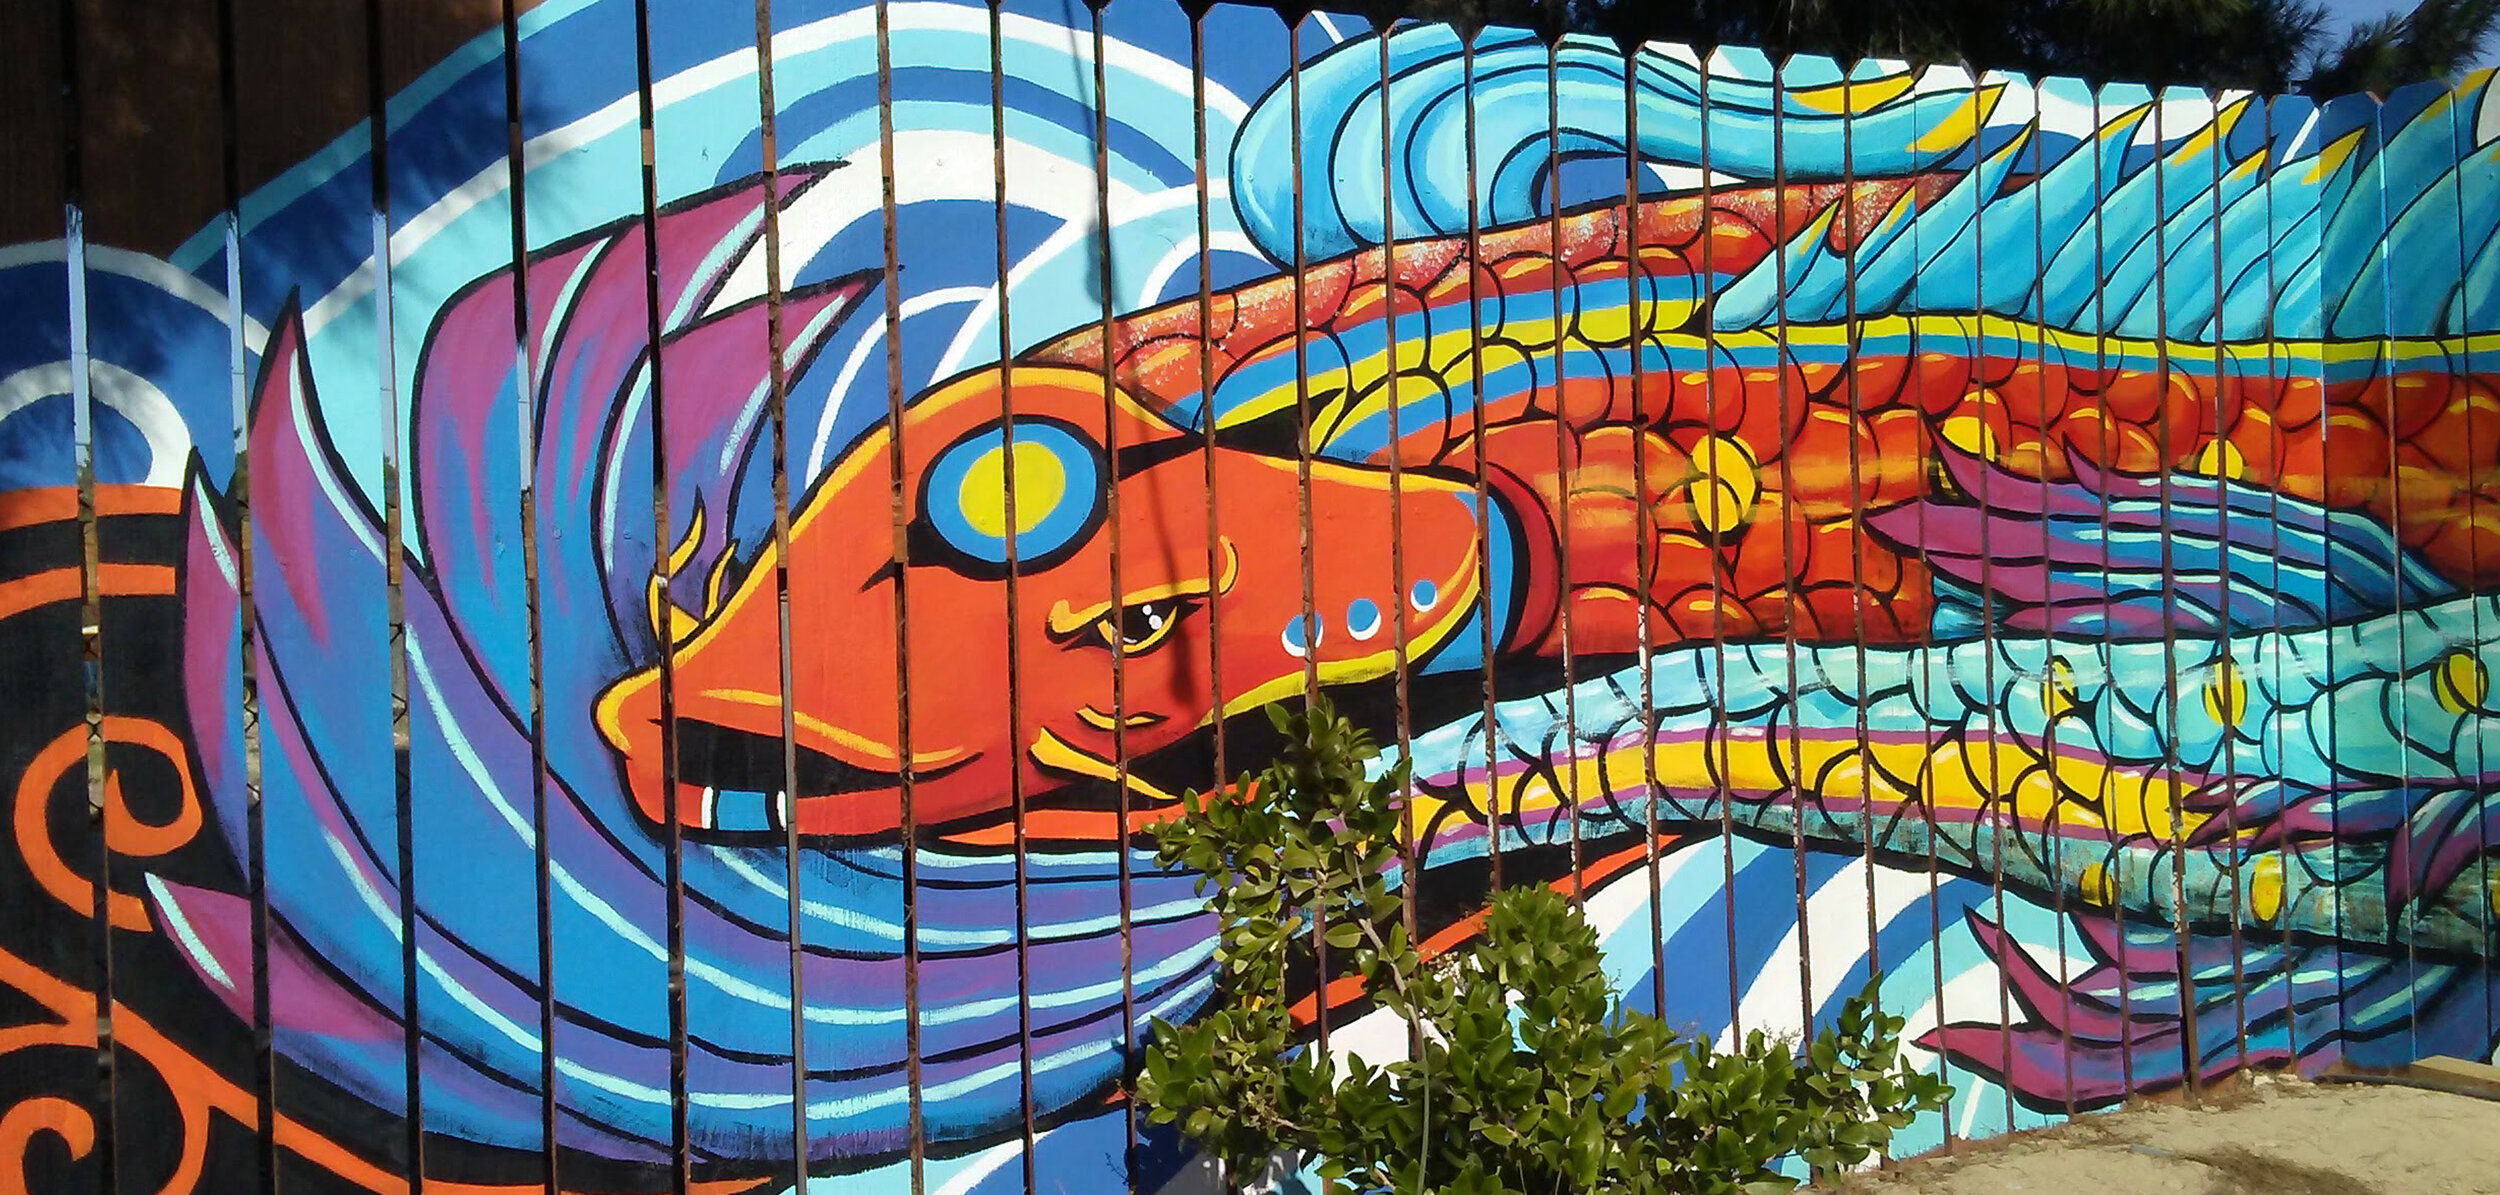
Outlining

This is probably my favorite part of any painting. Really makes things pop! Unlike the main body colors, I’m careful to make these lines are clean.
All finished!
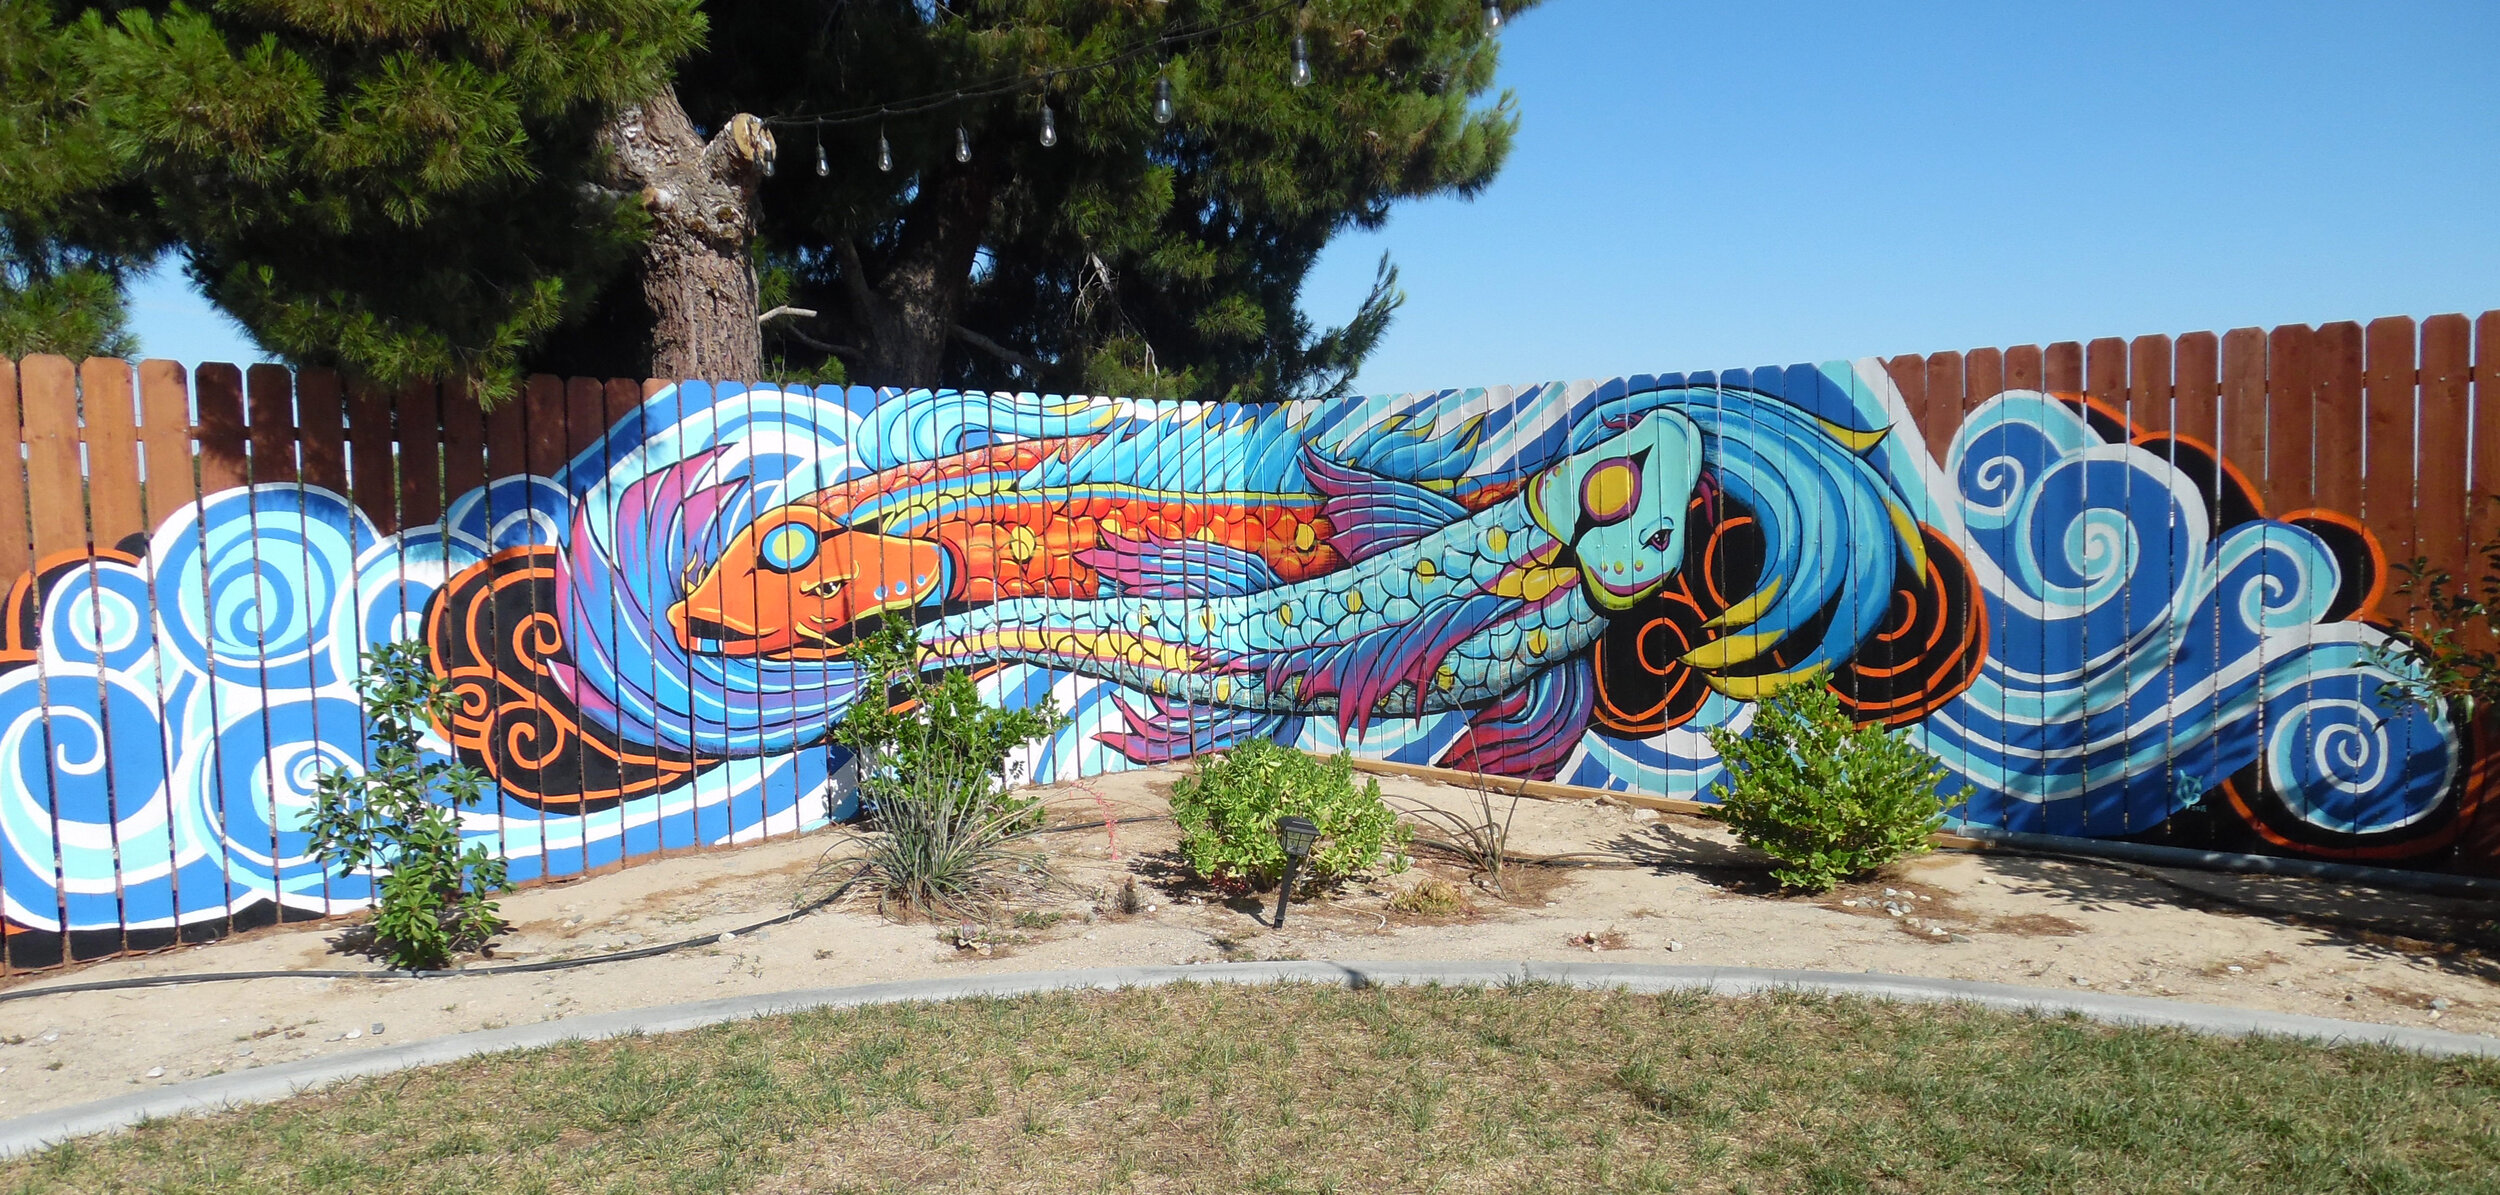

After some minor editing and cleaning up, the mural is finally finished. The very last step was applying a clear coat paint to protect the mural from the sun and moisture. This project definitely challenged my skills and endurance. My brother loved it and I’m feeling so fortunate to have this space to work big on :) mission complete.
If you are interested in a mural or artwork for yourself or business, please feel free to contact me.